I’ve always loved the look of exposed wood beams, but I never imagined I’d actually ever have them. You know? You have to live in a hundred year old house, I thought, or build a custom home and have them as part of your architecture— I just never imagined I’d actually be in a situation where I could have real wood beams on the ceiling of my home.
But as I casually mentioned this at a family dinner one night, my brother said he could build them. He said they would look real and they wouldn’t cost as much as I had assumed they would. And right away the wheels in my brain started churning.
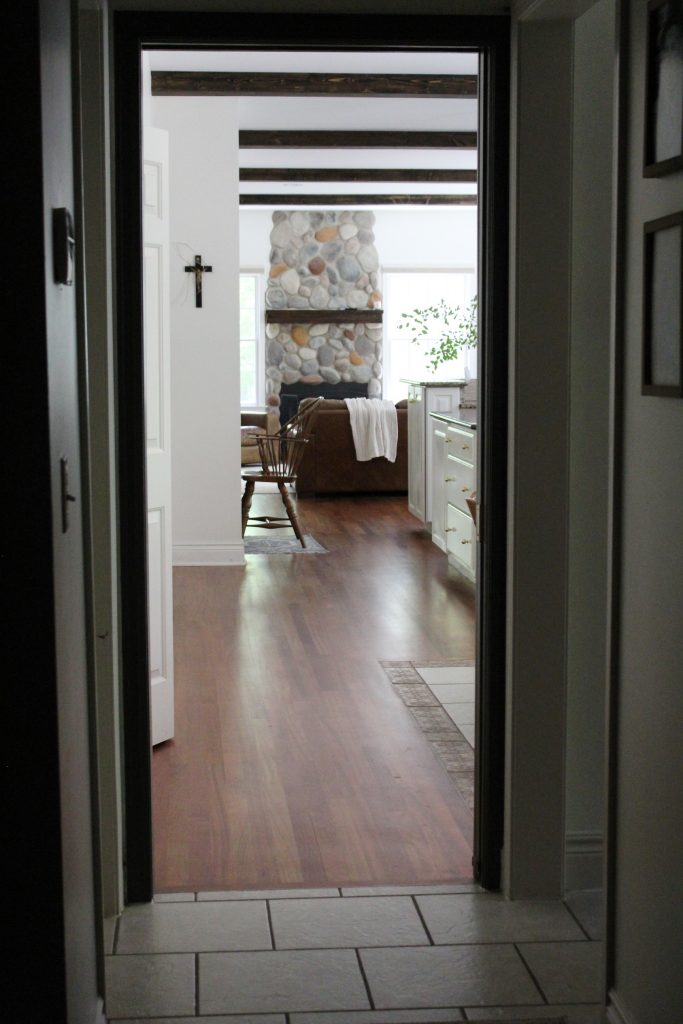
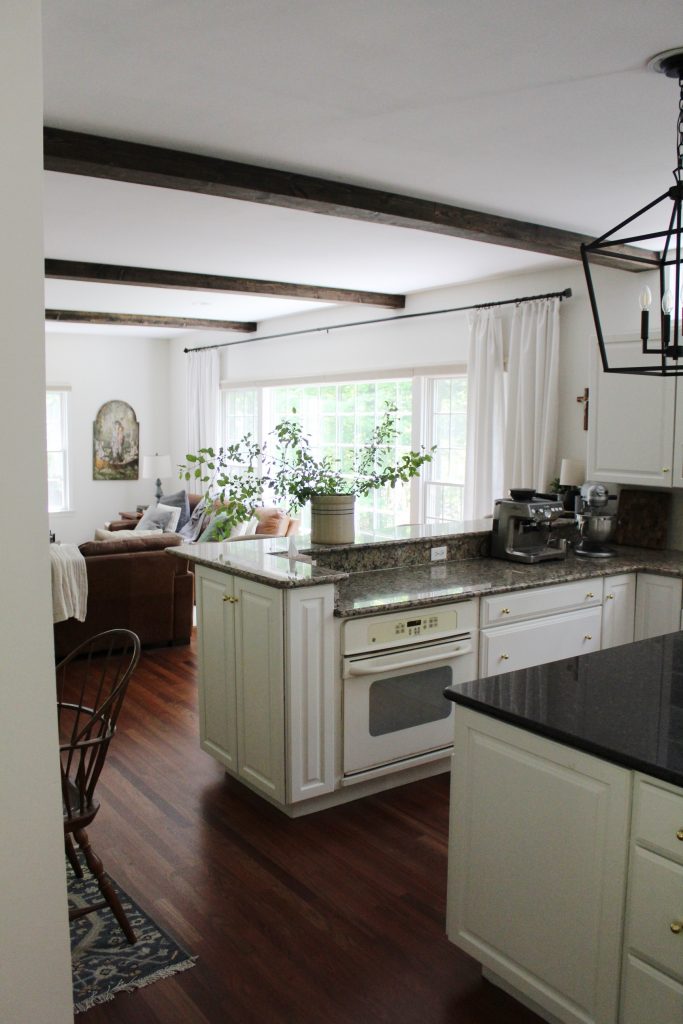
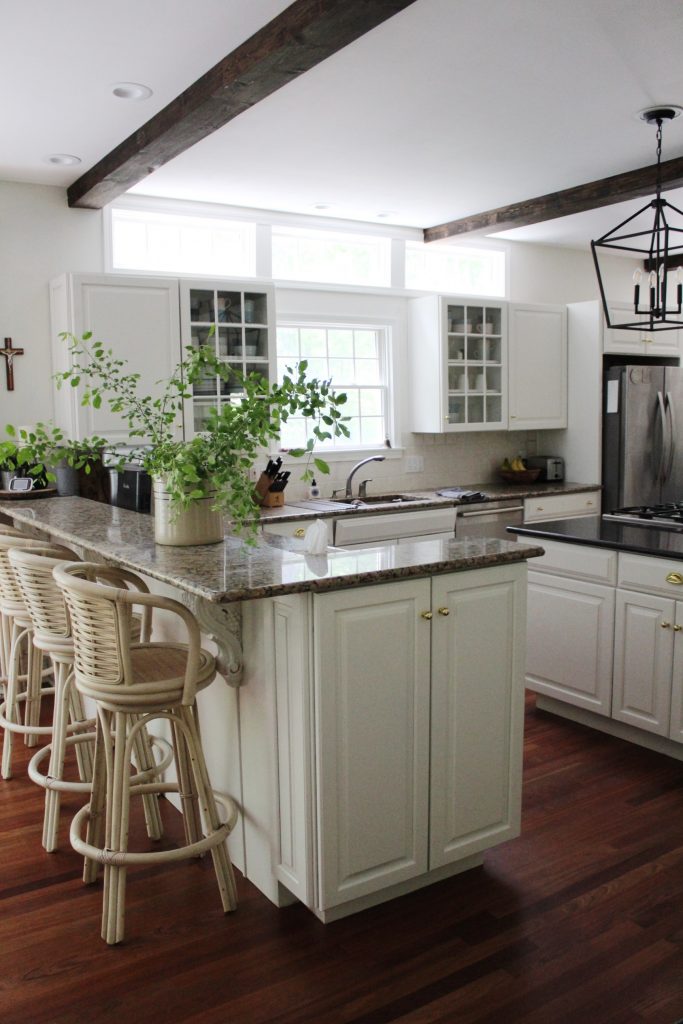
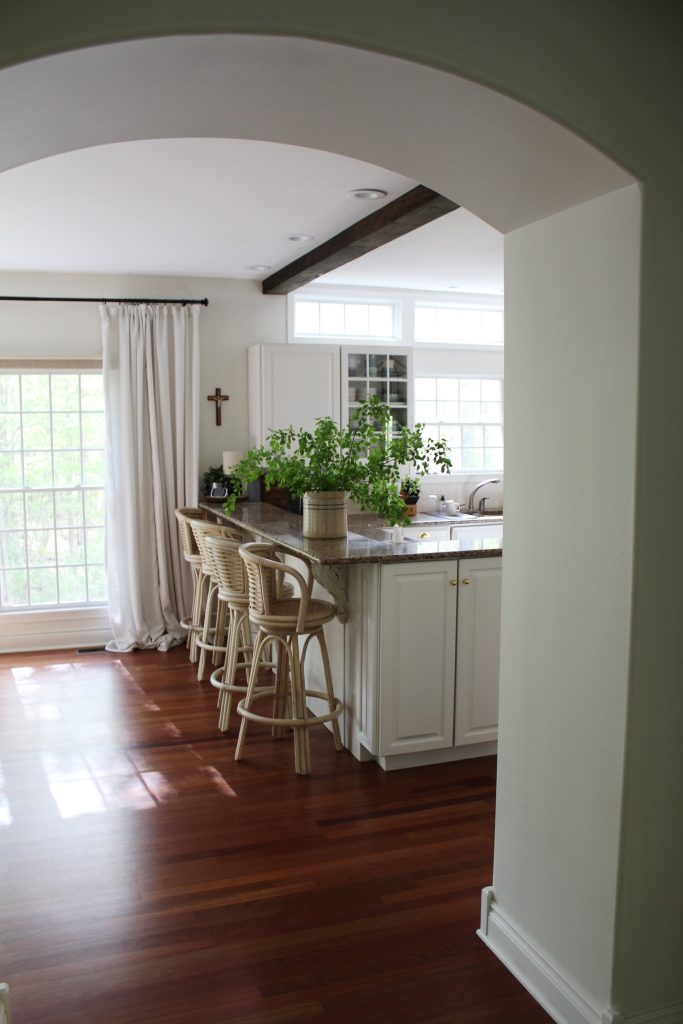
In the back half of our home, the living room, kitchen, and breakfast nook all flow together as one room, with a fireplace on one end and our kitchen table on the other. I painted the walls white when we moved in because I planned on painting our kitchen cabinets green (which, I did, hated it, and repainted them white… more on that later). But the idea of beams across the entire back half of the house, uniting the three rooms, adding warmth to all the white, making the whole space feel cozy, rustic, elevated and welcoming all at once? It was like a dream come true.

We started talking through all the measurements and placements for where the beams would go — how long they’d need to be, and how far apart. We measured and remeasured a million times trying to figure out the exact placement of where I wanted them to go relative to focal points in the room, but in the end, decided that even spacing on the ceiling was the most important component (more than trying to center beams on windows, light fixtures, etc).
We decided on a distance of just over 8 feet apart, partially dictated by even spacing and partially by placement of studs in the ceiling (the beams needed to be installed in the studs). That left us with 6 total beams — 4 of them were 16 feet long and two were just a tad shorter. Because of the size that lumber comes in, and because of the ceiling height and size of our room, we decided on a depth of 4 inches and a width of just over 7 inches for each beam.
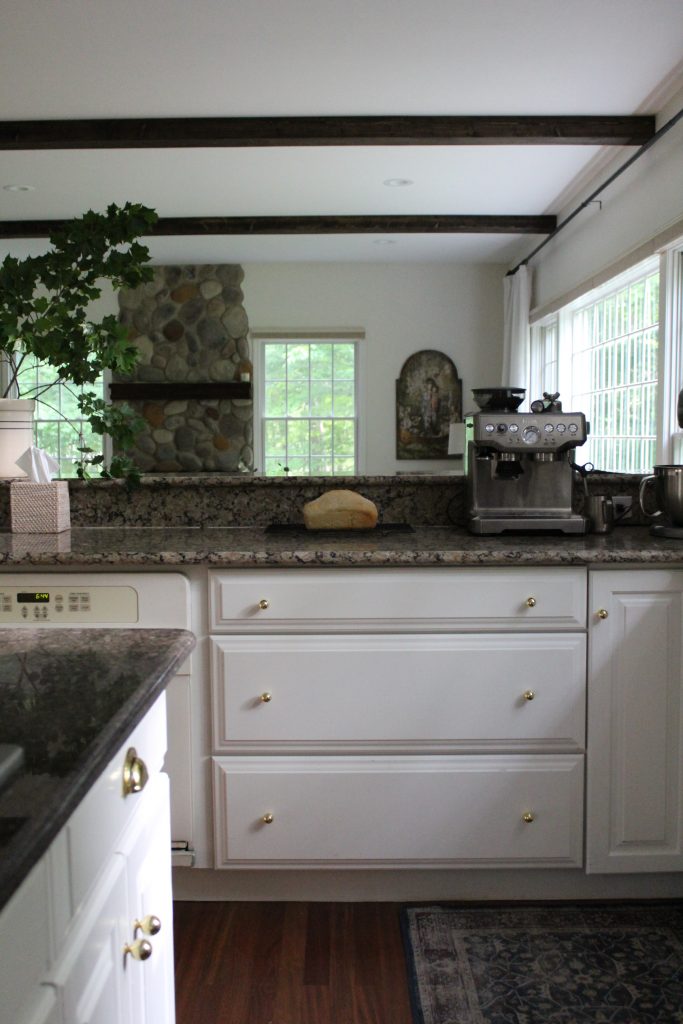
Then my brother got to work. His marching orders were to build a beam that looks as much like a real, weathered old barn beam as possible, without (of course) being heavy, insect ridden, or rotted as they sometimes can be if you use reclaimed wood.
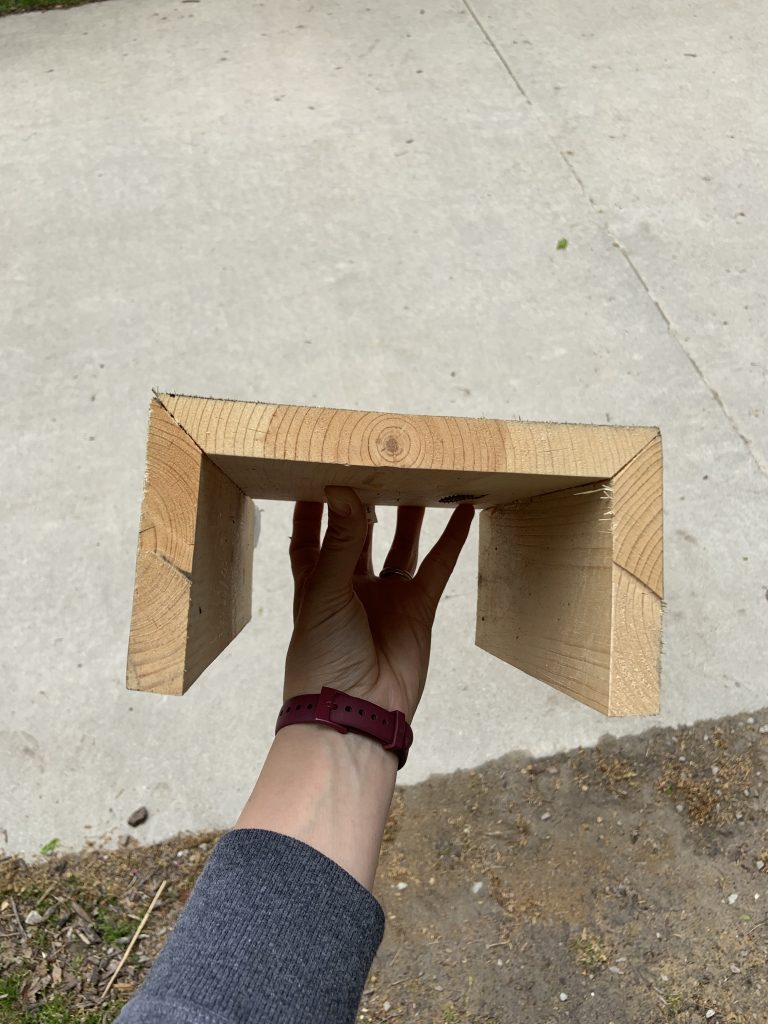
He bought common pine board from Lowes, and used a miter saw and a table saw to make angled cuts at the seams, along with stainable wood glue, so that all the seams would be as invisible as possible — again, we were going for the look of one solid beam, rather than a bottom and two sides. He then sanded the edges down so that they were just barely rounded, and then those seams literally disappeared. You can’t even see the side/bottom seam if you squint.
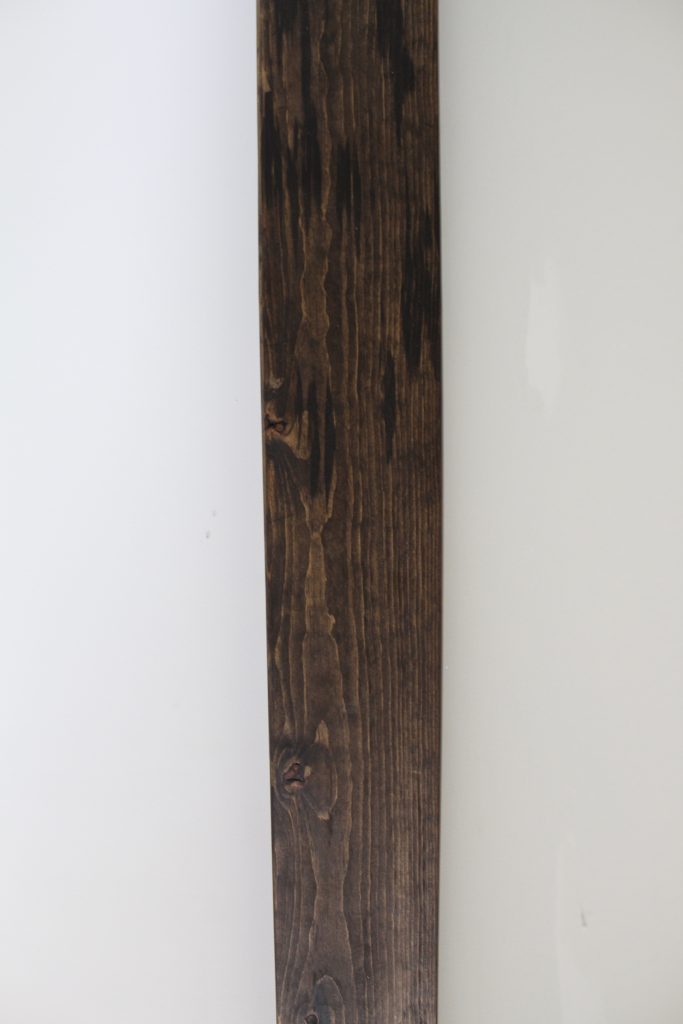
Then he took several attachments on his drill and roughed up the wood, exposing some of the natural knots, grain, and other imperfections that would show through if the wood were truly old, and then sanded it all smooth. After testing approximately 6000 stain colors and combinations, I decided on Minwax Dark Walnut stain and I stained them all with a styrofoam brush.
On install day, my husband helped hold up brackets (2x4s) that they installed on the ceiling studs and then they raised the beams up and screwed them in on the sides.
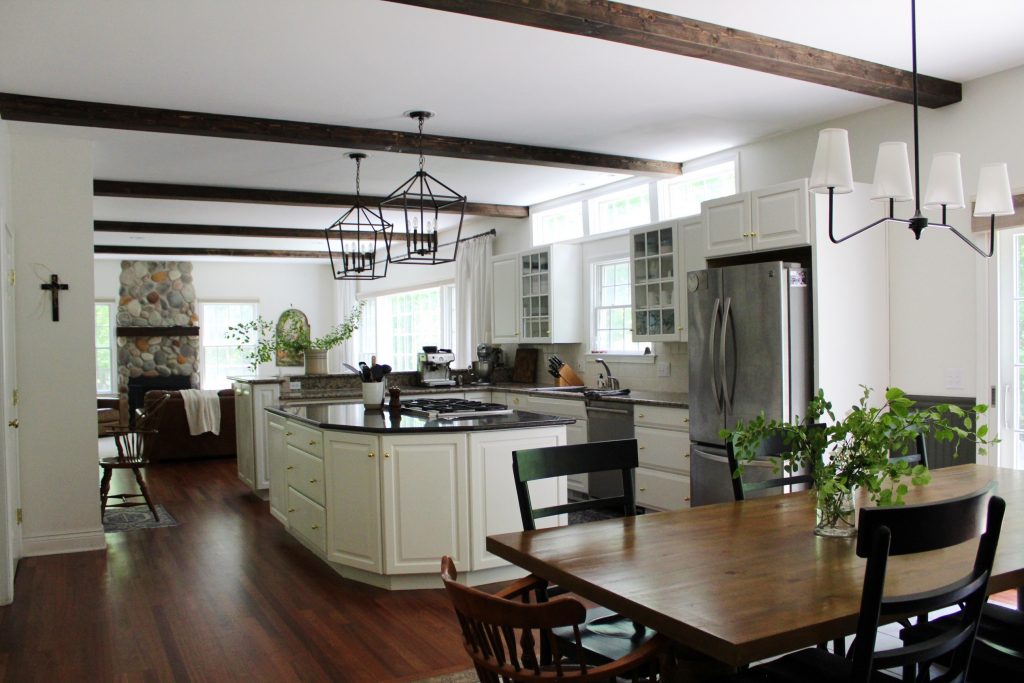
And voila. Architecture in general makes a gigantic difference in a space, and this is a small change to the architecture but a huge change in the feel of these rooms. They feel so cozy and classic and old in the best possible way. And, while I’m generally not a fan of adding “faux old” things, and these may not be truly supporting our second floor, they are real wood architectural elements that have been crafted by hand by a family member, and I’m more than okay with that — especially because the end result is truly really gorgeous.
Sometimes in designing our homes we prioritize budgeting for function (as we often must) — adding organization in the basement, painting the bathroom that’s chipping, making space for a larger dining table, whatever it is.
But this project showed me that sometimes it’s also important (within reason) to budget for beauty, just for the sake of beauty. If that’s a small home renovation or addition, great, but it doesn’t have to be — it could be something as simple as the occasional fresh flowers on the table.
Because beauty matters, and we can’t forget to pursue it, intentionally, prudently, steadily. It helps us to appreciate our homes and look at them a little differently, with a little more kindness, perhaps, and cheer, and patience, and maybe even a little more respect — a respect it deserves, because the life and work within its walls is sacred.

If you live in Southeast Michigan, my brother now makes custom wood beams for other spaces too. Contact me for his information: halley@everydaymamas.com
Dreaming up a design of your own? We can help! Request Halley to help with your project >>
-
 The Guided Design$300.00
 -
 The Blueprint$125.00
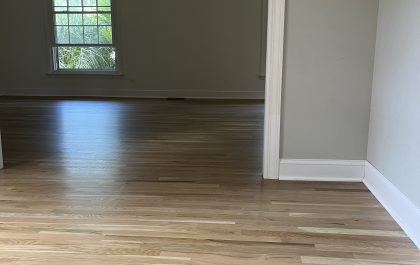
Flooring Renovation: Asbestos Removal and Choosing the Perfect Floor Stain
We finally completed the renovation of our first-floor flooring, and like most renovations, it was a bit more involved than we initially hoped for. When we bought the house three years ago, we knew the…

Roses are red: 8 beautiful shades of a paint color you might not realize you love
Lots of us love blues, greens, whites, and greys. And if neutrals are more your thing, you might think you need to stay far away from a color like red. But we think it’s worth…