
We finally completed the renovation of our first-floor flooring, and like most renovations, it was a bit more involved than we initially hoped for. When we bought the house three years ago, we knew the flooring would have to be redone. The first floor was a patchwork of three different types of flooring—tile and laminate—none of which matched. We explored several options, from laminate to engineered wood to solid hardwood. Ultimately, we chose hardwood, not only because it would add value to the home, but also because it offered the warmth we were looking for. We knew this would be a big investment, but it felt like the right choice.
One thing that delayed the project was discovering a layer of 1960s linoleum tile under the floor vents. Thanks to my brief stint in real estate and attending several home inspections, I knew this was likely asbestos-containing tile. We had it professionally tested, and sure enough, both the linoleum and the black glue (called “mastic”) tested positive for asbestos. This meant that if we wanted to remove the old flooring, it had to be done professionally, adding significant time and cost to the project. Unfortunately, if you live in an older northern city, this type of flooring is quite common in older homes.

We reached out to several asbestos abatement companies in Chicago and ultimately decided to go with A & B Environmental. The old linoleum was underneath 50% of the first floor (beneath the ceramic tile and laminate in the family room), and since tile removal is a lot more tedious and costly, this definitely increased the price. If you ever find yourself in the same situation, for reference, the abatement process cost about $7k.
Here’s a quick breakdown of how they removed the asbestos:
- They taped off all the walls.
- They ran a HEPA filter to safely push the air outside.
- They used water to keep any dust from rising during the removal process.
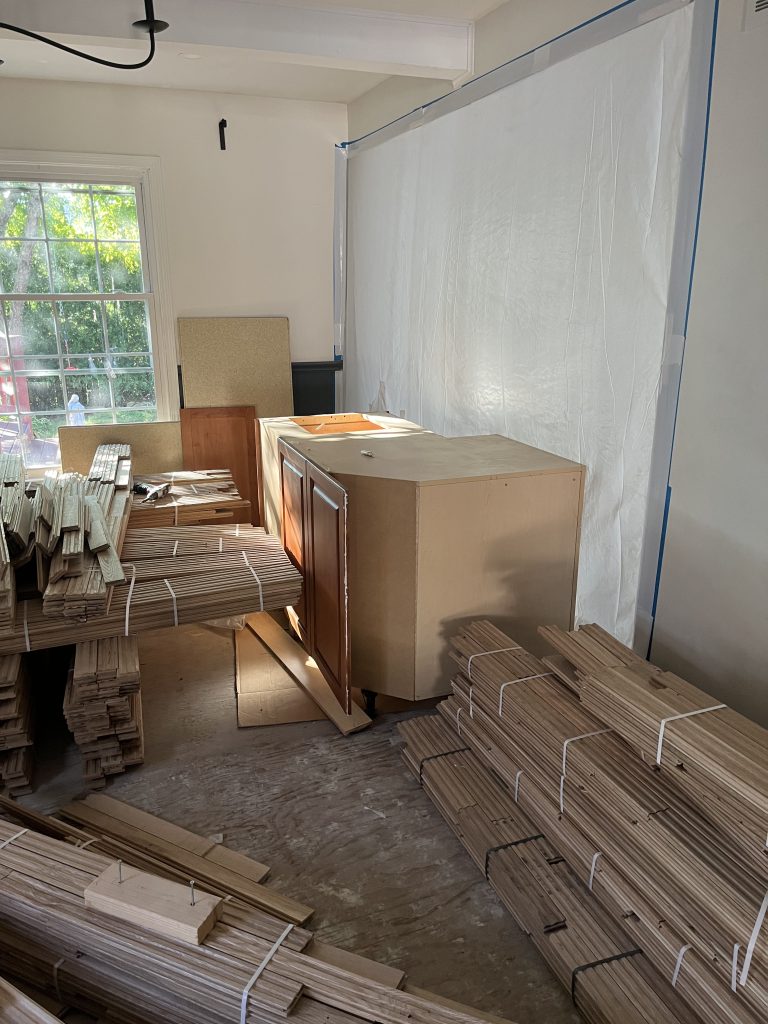
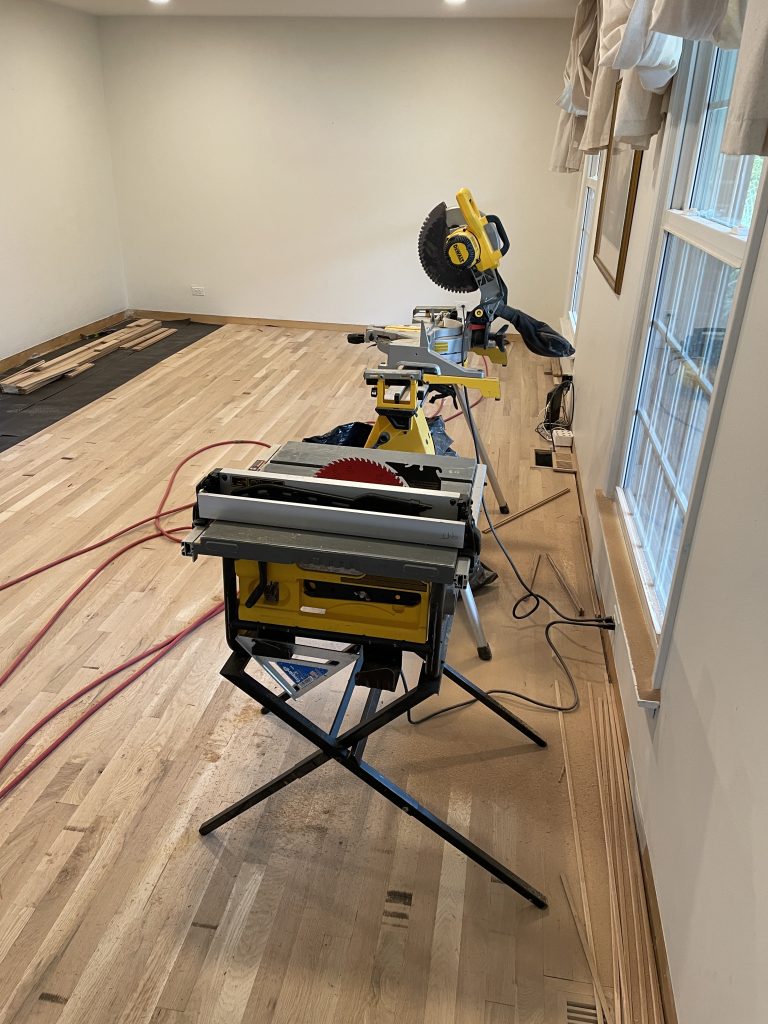
The removal process took about four days from start to finish, and once that was done, we could finally move on to the install! As anyone who’s done a renovation on an old home knows, it gets messy and dusty fast during demo.
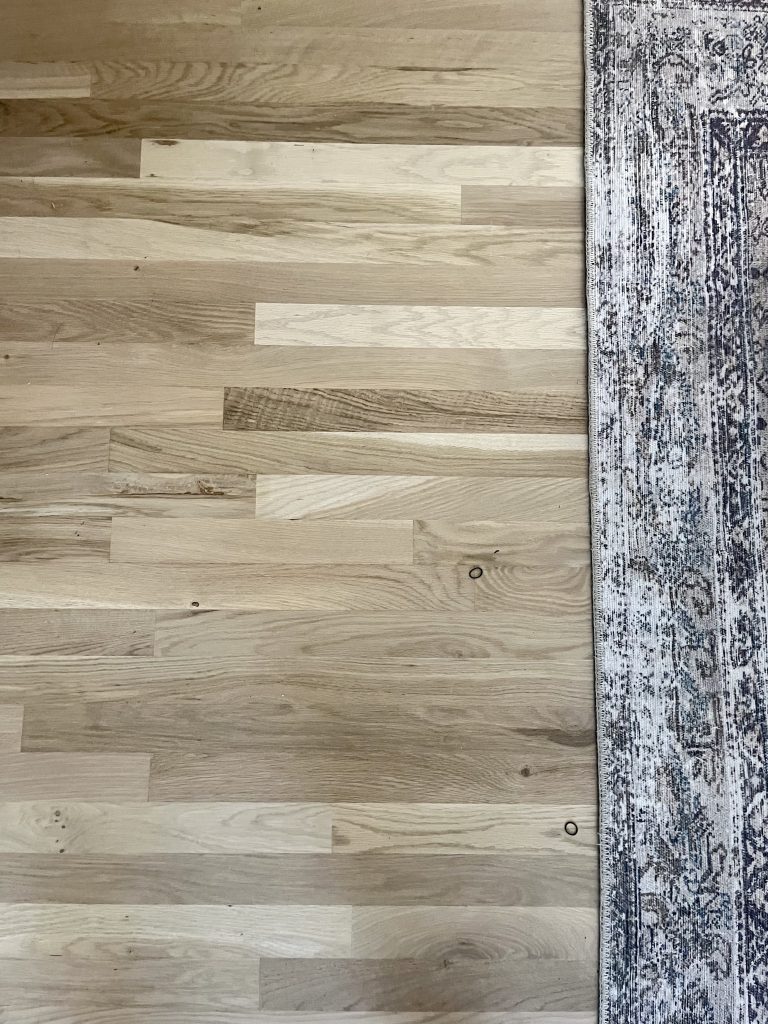
With the asbestos gone, our flooring contractors—C & H Installation—came in to prep and install the hardwood. It was a two-man job that took about eight days from installation to the final coat of sealant. We chose 2 ¼ inch white oak, Common Grade #1, from Floor & Decor, and I’m so happy with this decision! I wanted a lighter stain to help reflect light in our home (which doesn’t have a ton of natural light). I also didn’t want the floor to pull pink tones with a lighter stain, which red oak can tend to do, so we opted for white oak, which was only a small price difference.
When it came to staining, I narrowed it down to two options:
- No Stain. Just Sealer (Bona Natural) with a Satin HD Traffic Finish for a light, natural look.
- Weathered Oak Stain with two coats of Satin Finish, which was also natural and light.
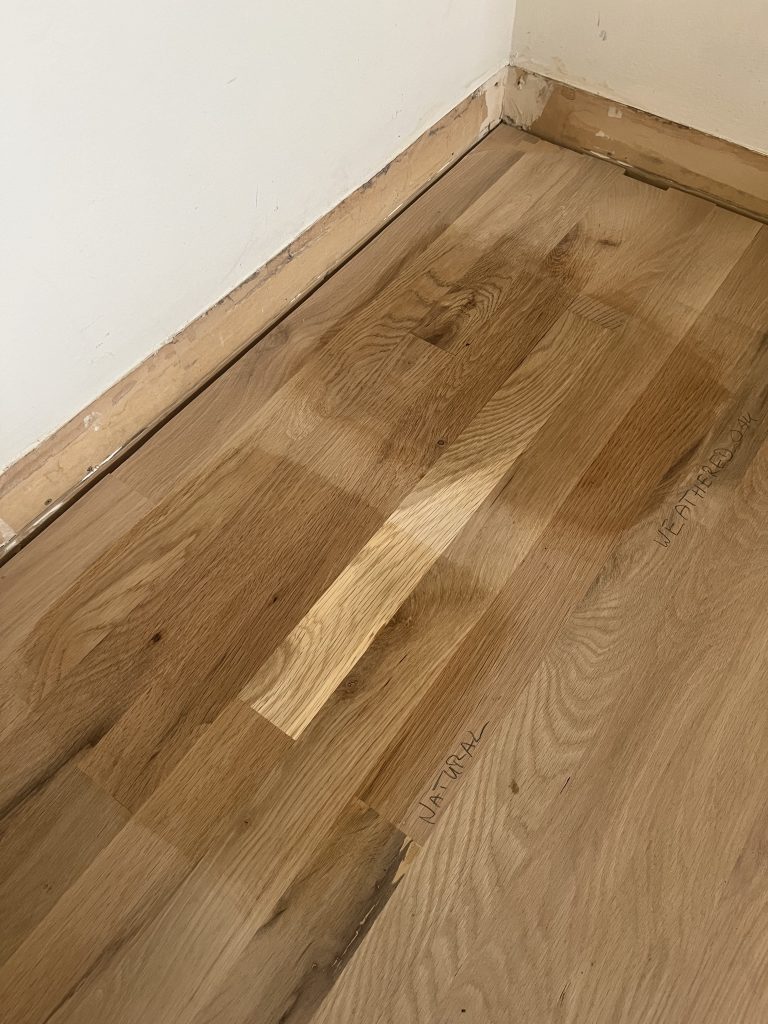
We ultimately chose the Weathered Oak stain—and I LOVE it! While the Bona Natural Seal was beautiful, it leaned slightly yellow in our home’s lighting, so that swayed me toward Weathered Oak. This stain feels warm and light without pulling any yellow tones.
If you have red oak and want a similar look, I recommend asking your flooring contractor to mix 75% Weathered Oak with 25% Country Oak to help tone down any pink hues.
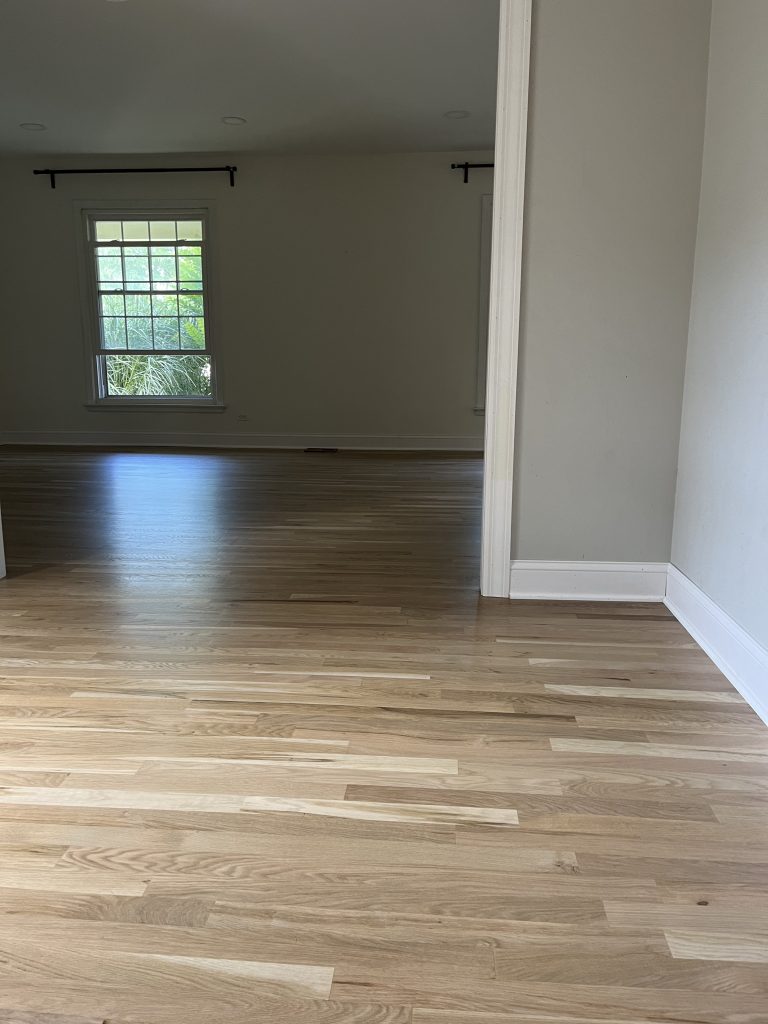
In addition the new hardwoods, we also had the all the original 3″ baseboards replaced with 5 1/4″, which I think really helped polish off this first floor. The next step is getting all of this new trim painted.
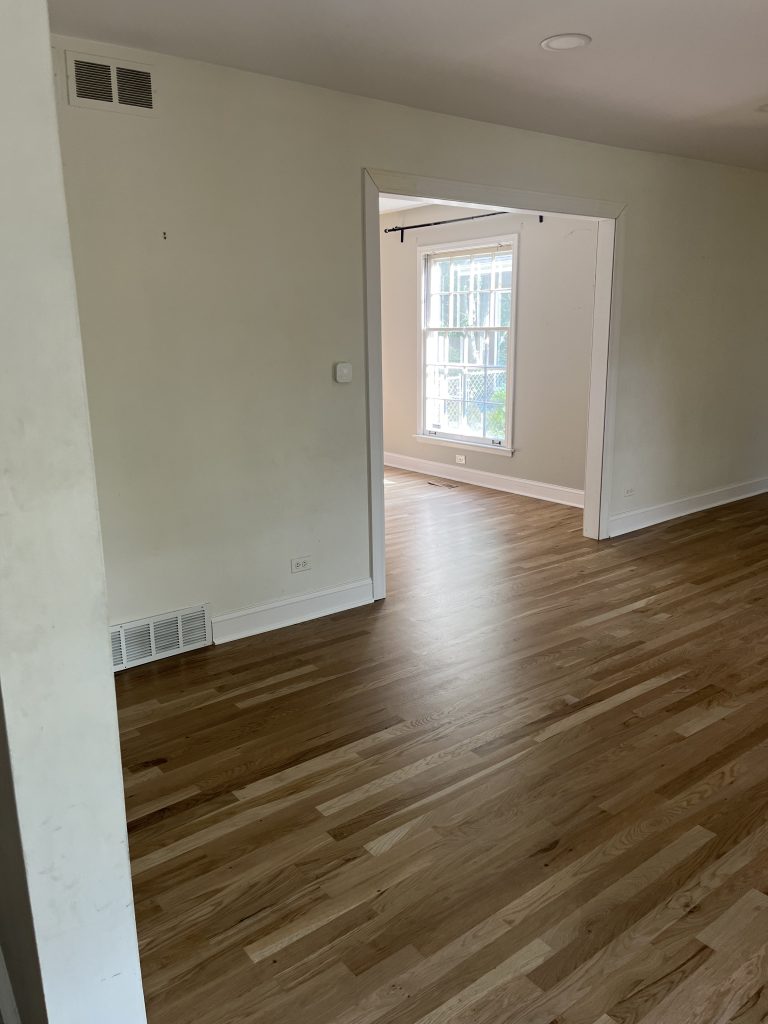
Looking back, this project was definitely a whirlwind—between the unexpected asbestos removal and the non-stop dust from demo—but we’re thrilled with the end result. And thankfully, we were able to stay with family while most of the work was being done, which made the whole process much smoother. We’d highly recommend C & H Installation to anyone local to Chicago—they did an incredible job from start to finish. And it all came together just in time for the start of the school year!